- Disconnect negative battery cable.
- Remove air cleaner assembly.
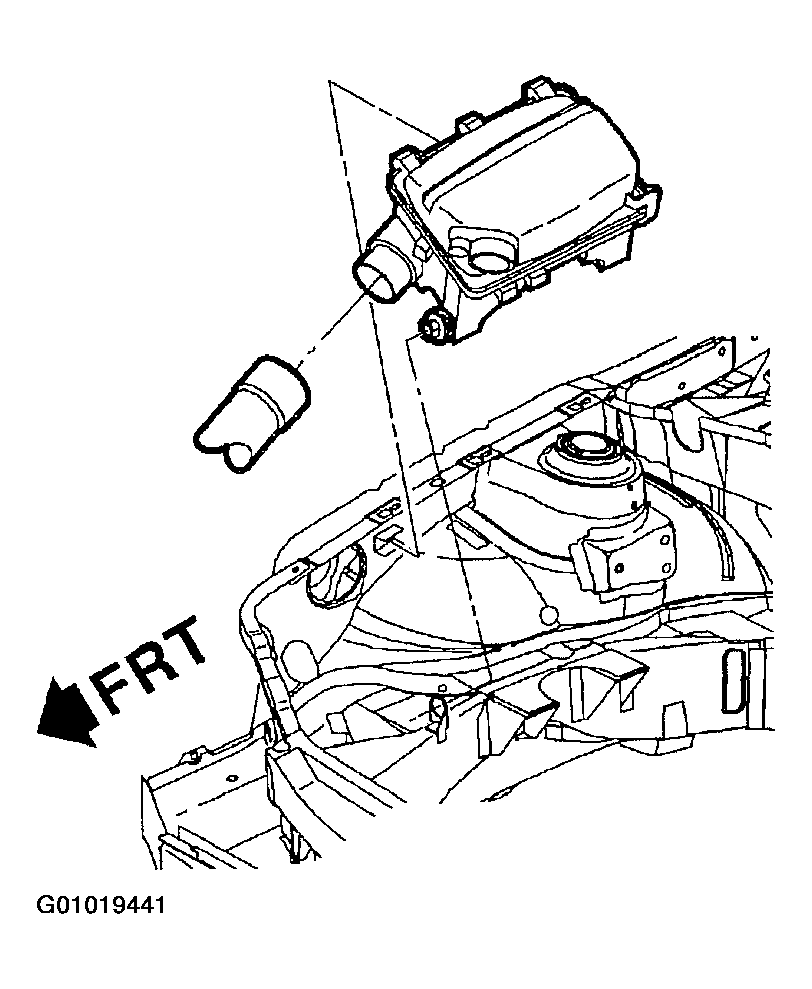 Courtesy of GENERAL MOTORS CORP.
WARNING:
Ensure that vehicle is securely supported before lifting on a hoist. To help avoid personal injury when a vehicle is not on a hoist, provide additional support for the vehicle on the opposite end from which components are being removed. Ensure that the hoist does not contact fuel or brake lines.
- Jack vehicle or raise on a hoist.
- Drain engine oil. See Figure
.
- Remove right wheel and splash shield.
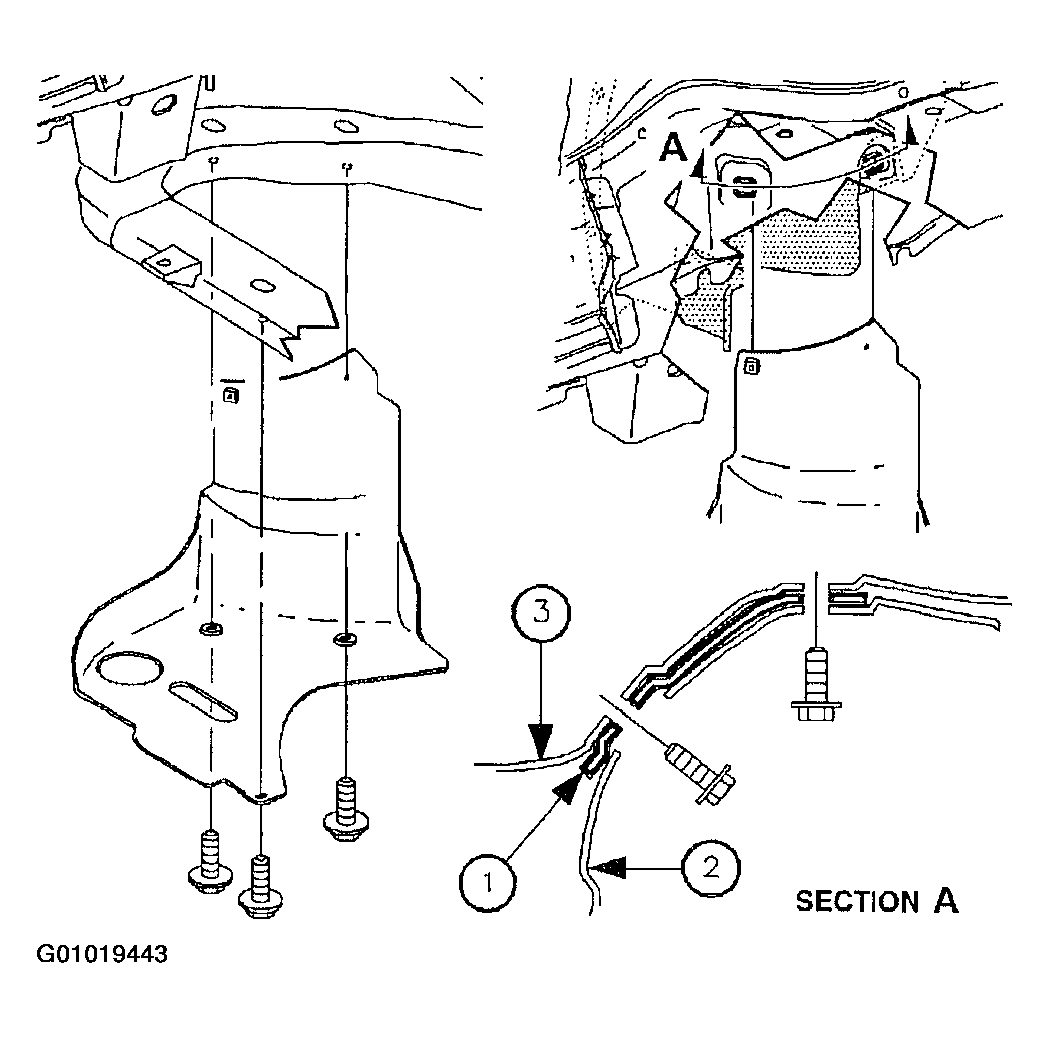 Courtesy of GENERAL MOTORS CORP.
- Remove engine accessory drive belt.
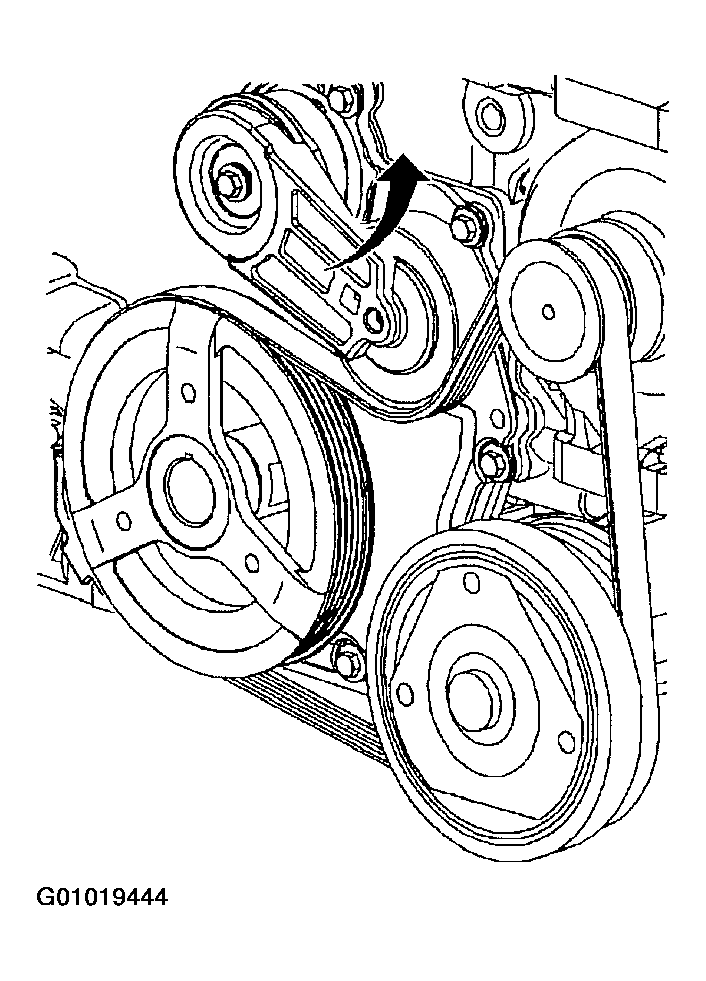 Courtesy of GENERAL MOTORS CORP.
NOTE:
The crankshaft damper pulley bolt head and washer assembly prevents oil leakage at the center of the pulley. Do not damage sealing surfaces.
- Remove crankshaft damper pulley bolt using crankshaft pulley holder.
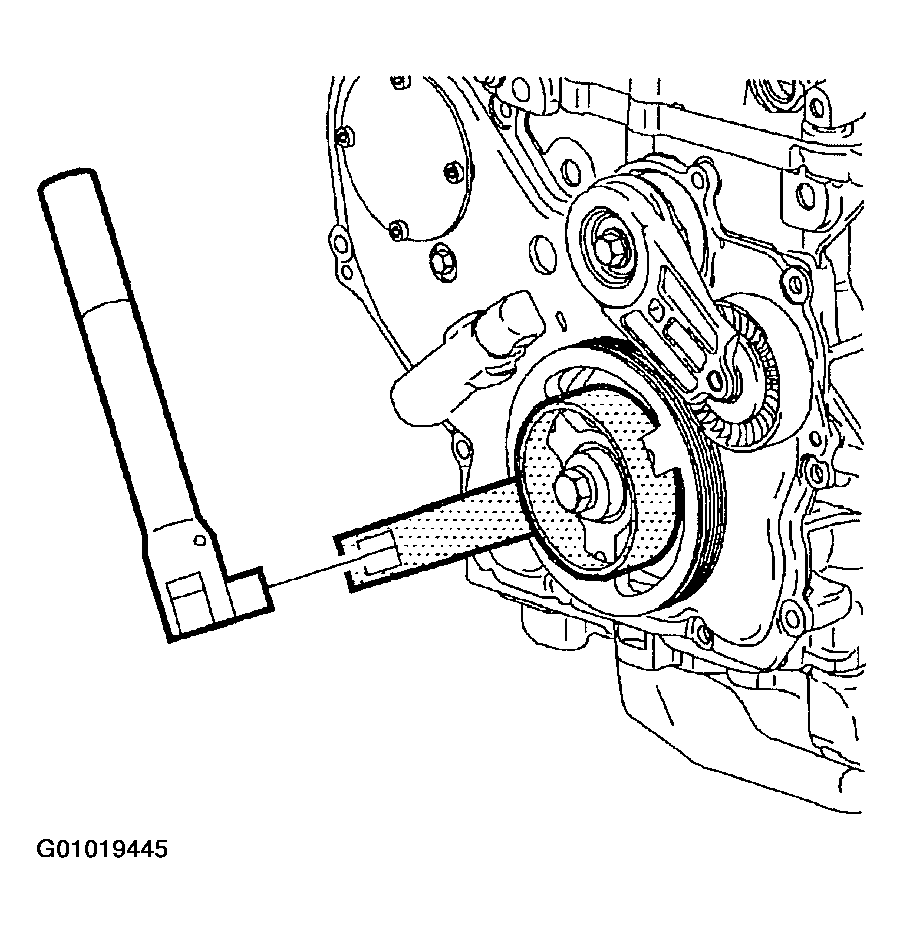 Courtesy of GENERAL MOTORS CORP.
NOTE:
If pulley cannot be removed by pulling by hand, use a three jaw puller. Do not pry against cover.
- Remove belt tensioner.
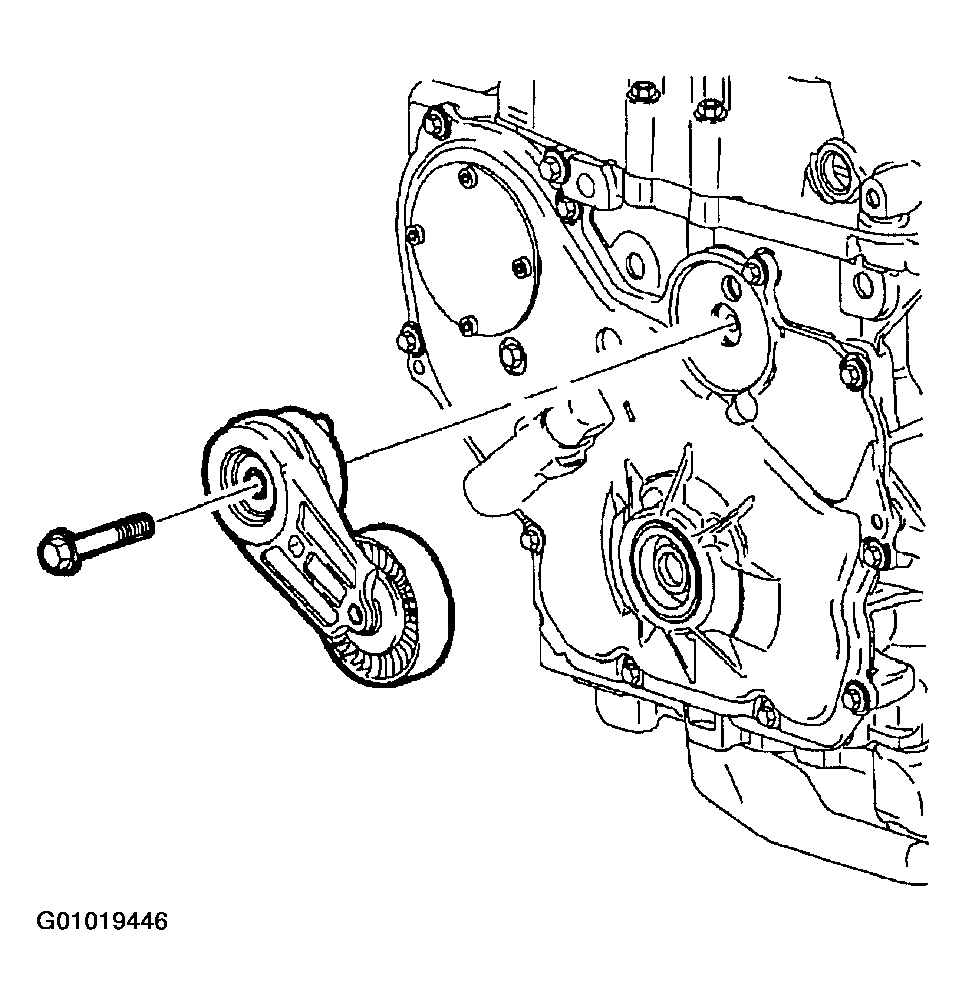 Courtesy of GENERAL MOTORS CORP.
- Install engine support fixture (3-Bar) and engine support fixture adapter.
- Remove right engine mount. Refer to RIGHT ENGINE MOUNT & BRACKET
.
- Remove front cover bolts.
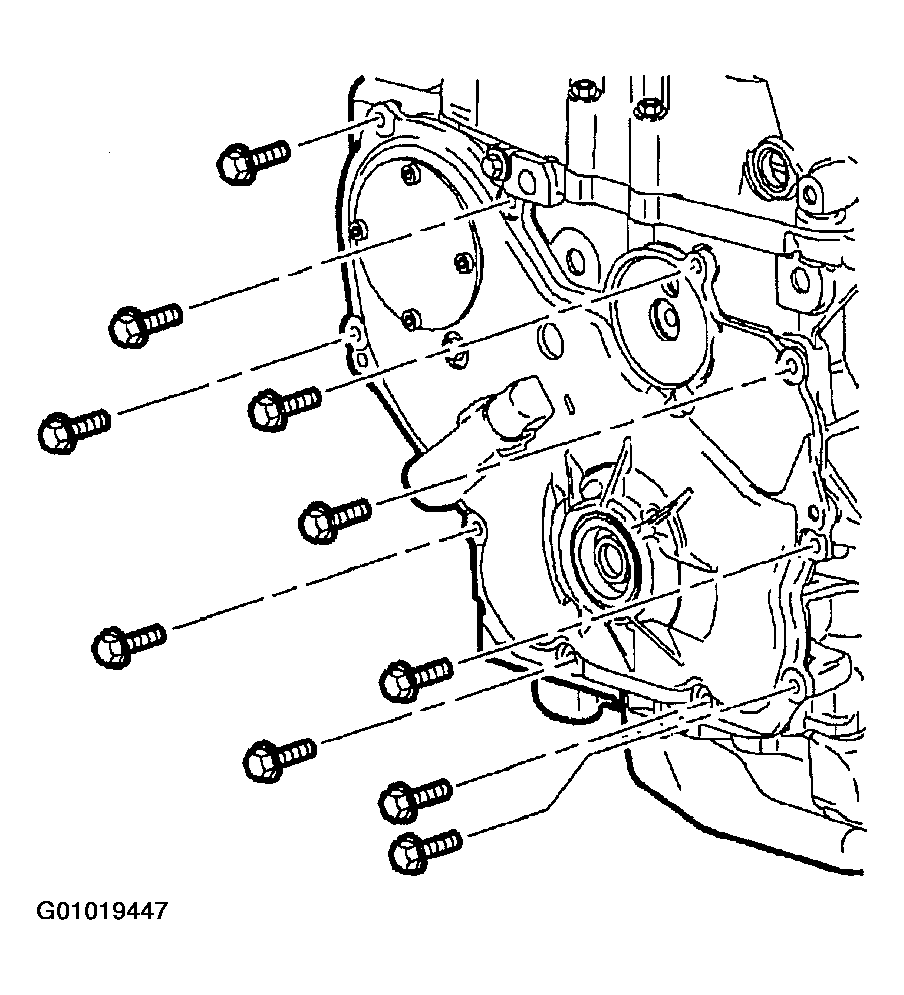 Courtesy of GENERAL MOTORS CORP.
NOTE:
The 13 mm bolt under the water pump cover must also be removed.
- Remove front cover assembly and front cover gasket.
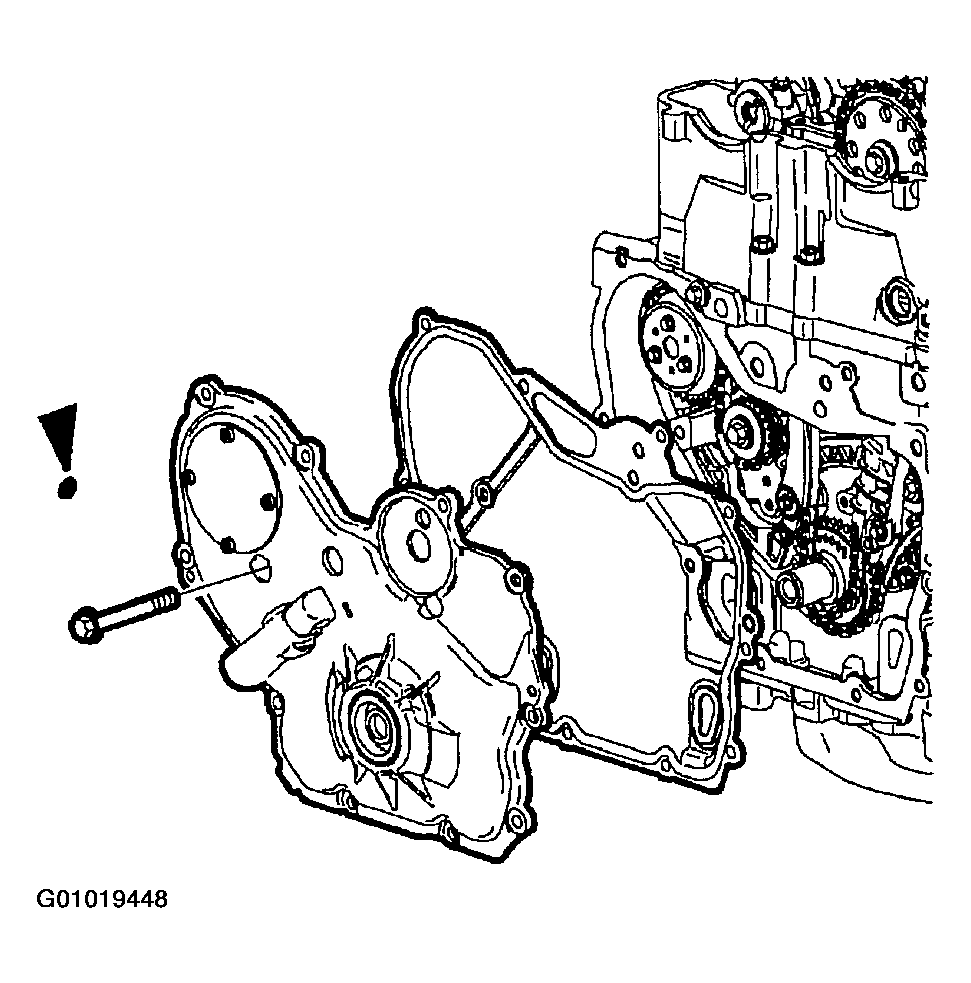 Courtesy of GENERAL MOTORS CORP.