Manual Transmission Shift Control Housing Disassembly
- Position the case cover.
- Remove the lower gearshift lever.
- Remove the dust cover screws.
- Remove the dust cover.
- Remove the lower gearshift lever.
- Remove the backup lamp switch and the pin.
- Invert the case cover on the holding fixture.
- Remove and discard the shift fork spring pins.
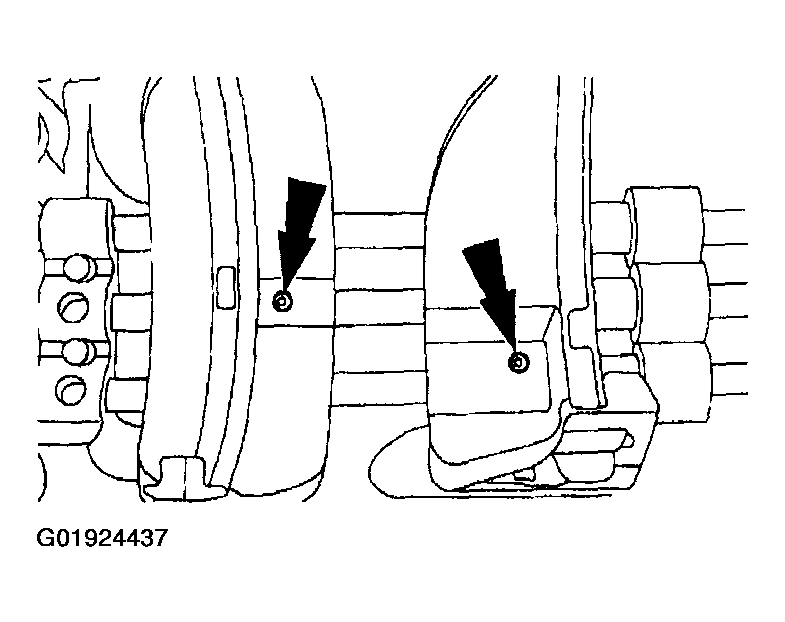 Courtesy of MAZDA MOTORS CORP.
- Remove and discard the shift gate spring pins.
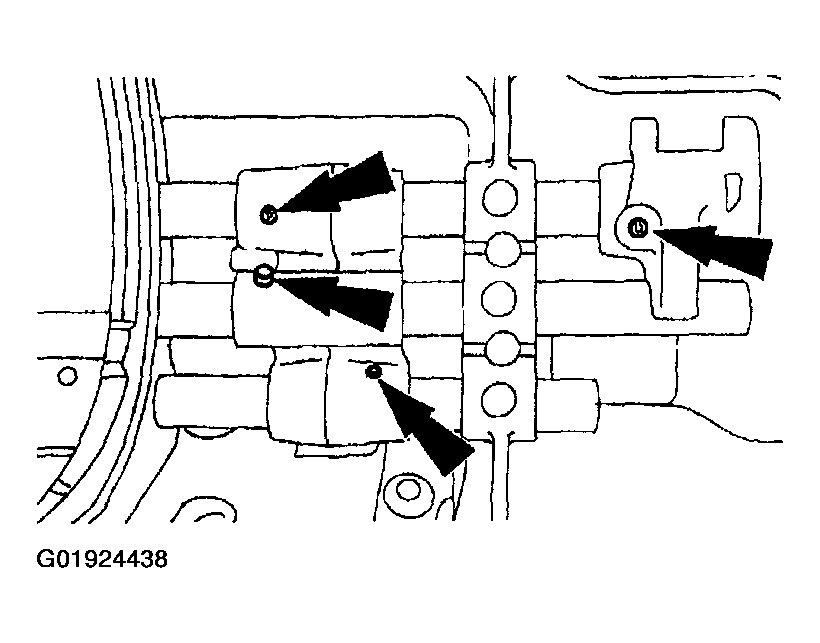 Courtesy of MAZDA MOTORS CORP.
- Remove the three rubber service bore plugs.
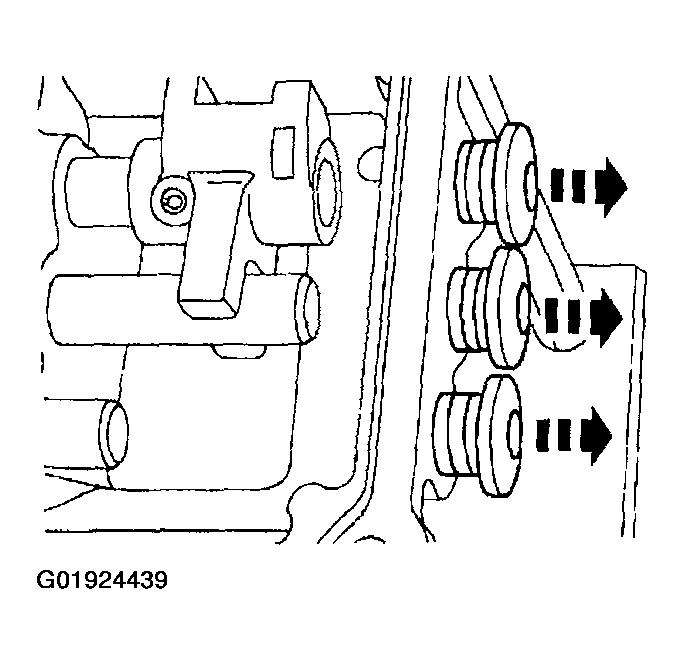 Courtesy of MAZDA MOTORS CORP.
WARNING:
- Wear safety glasses while performing shift rail removal procedure.
CAUTION:
- Perform the following shift rail removal procedure with great care. Cover the lock ball and friction device bores and spring seats with a clean cloth held firmly into place during shift rail removal. Failure to cover bores can result in component loss when the ball/friction device and spring forcefully leave their installed positions.
NOTE:
- When removing the shift rails, collect and separate the interlock pins to ensure installation into their original locations.
- Use the spring pin bore to remove the fifth/reverse shift rail.
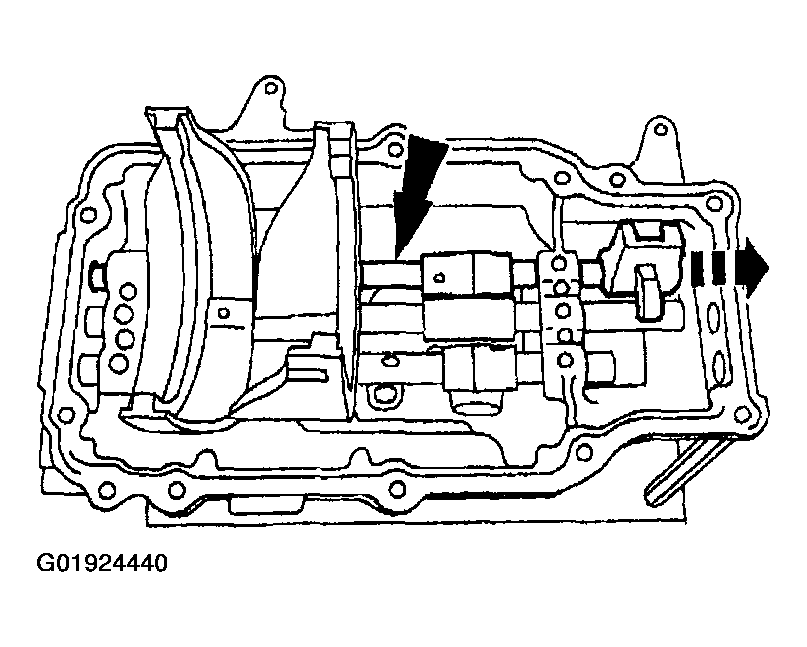 Courtesy of MAZDA MOTORS CORP.
- Remove the first/second shift rail by using a suitable punch in the spring pin bore to aid removal.
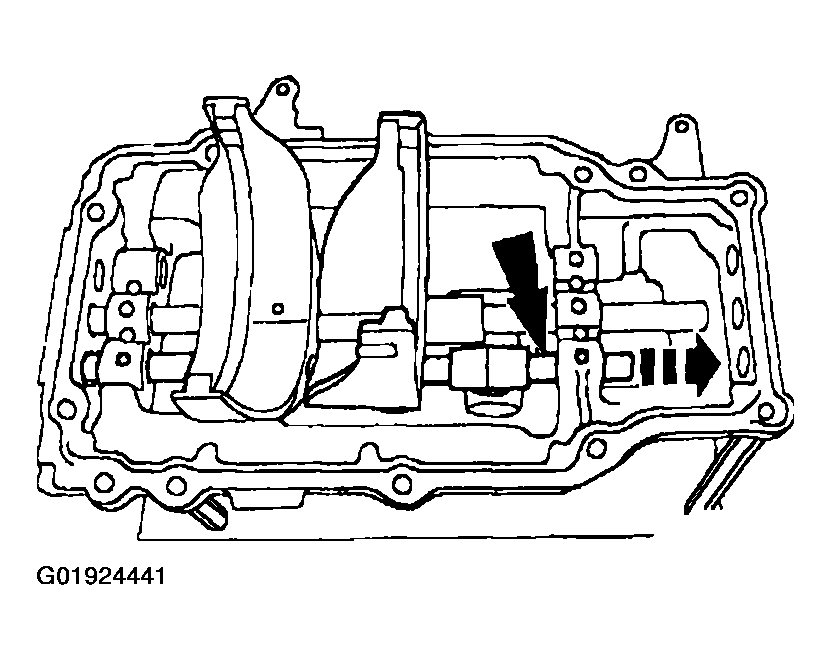 Courtesy of MAZDA MOTORS CORP.
- Use the spring pin bore to remove the third/fourth shift rail.
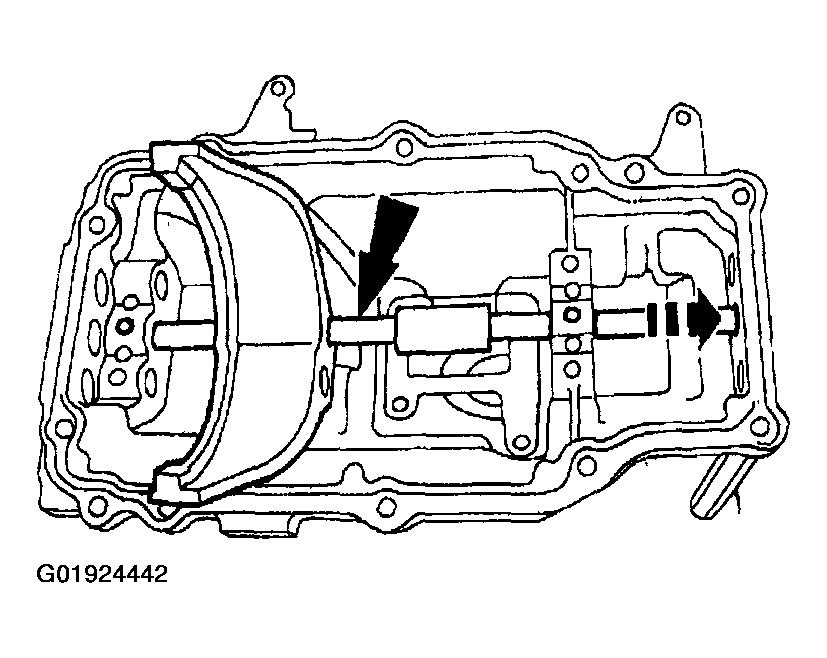 Courtesy of MAZDA MOTORS CORP.
- Remove the gear selector interlock sleeve.
- Remove the bolts.
- Remove the gear selector interlock sleeve.
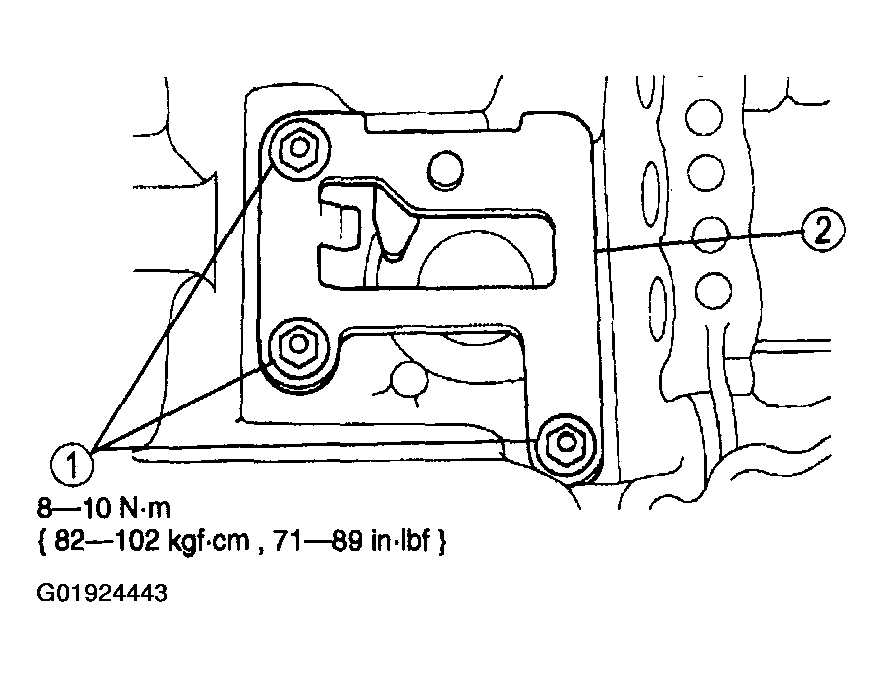 Courtesy of MAZDA MOTORS CORP.