- Remove the tie rod end from the tie rod.
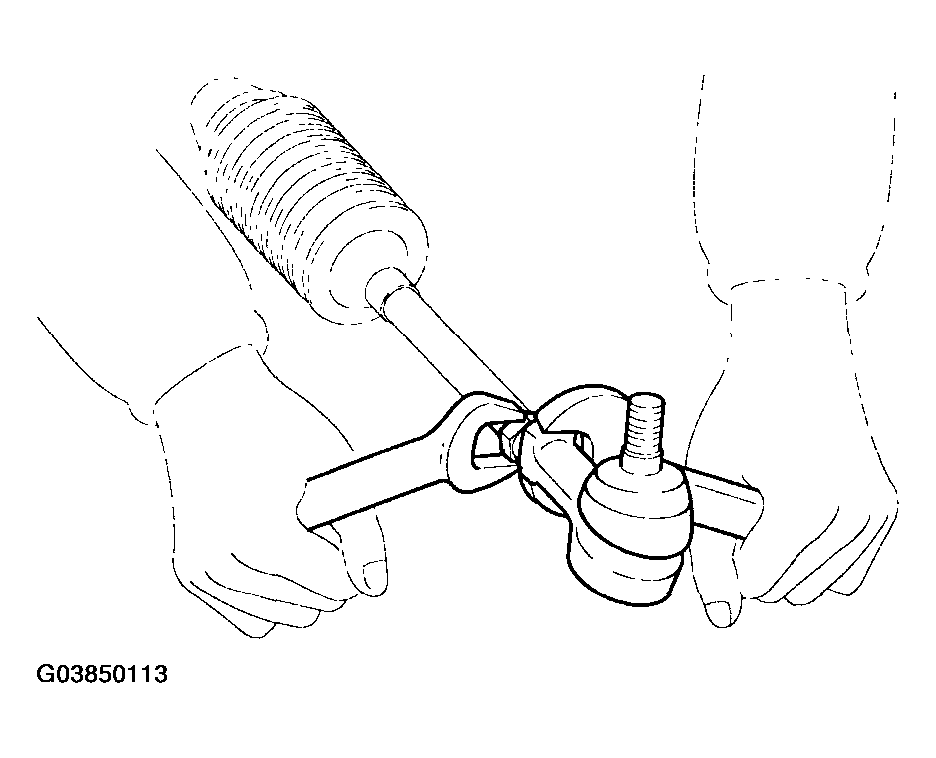 Courtesy of HYUNDAI MOTOR CO.
- After mounting the tie rod end in a vise, remove the dust cover from the ball joint.
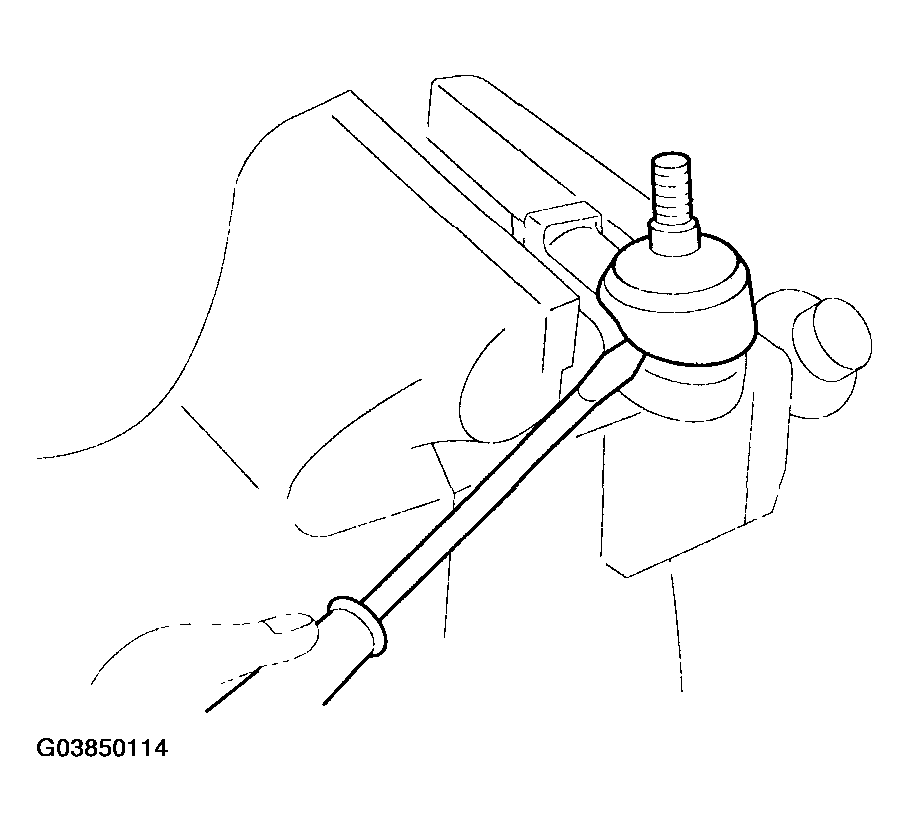 Courtesy of HYUNDAI MOTOR CO.
- Remove the bellows band.
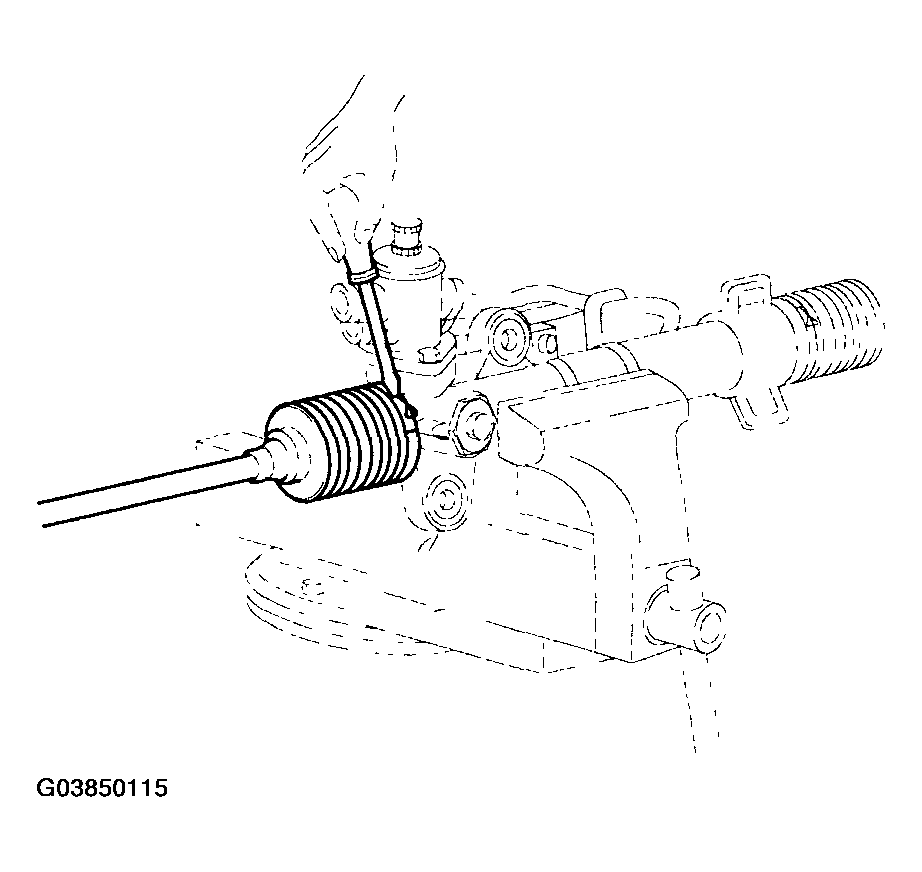 Courtesy of HYUNDAI MOTOR CO.
- Remove the bellows clip.
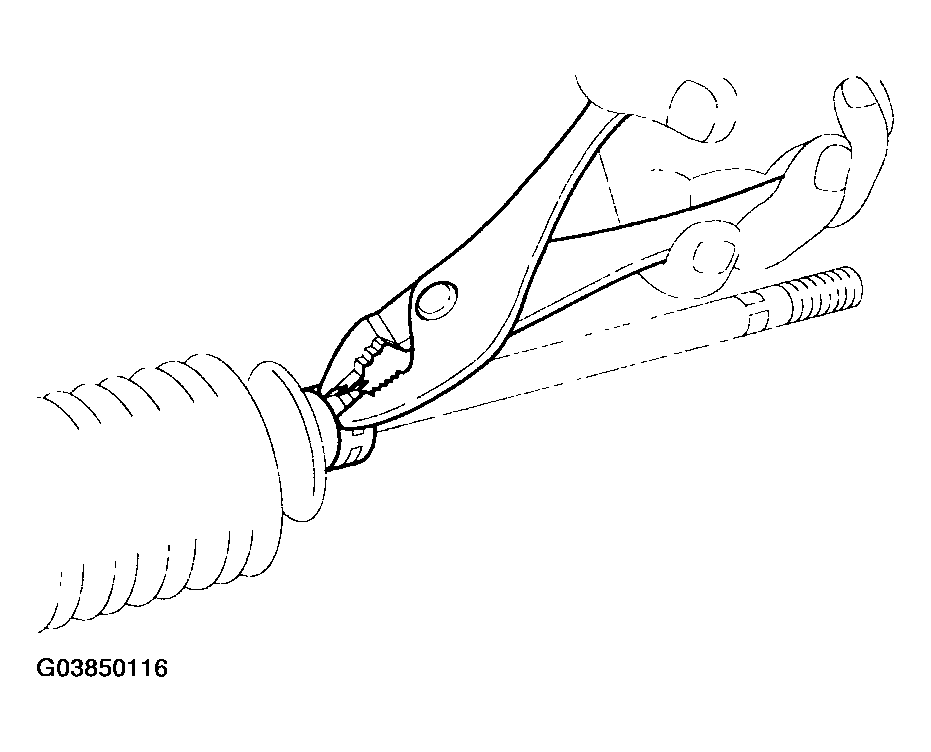 Courtesy of HYUNDAI MOTOR CO.
- Pull the bellows out toward the tie rod.
NOTE:
Check for rust on the rack when the bellows are replaced.
- Remove the feed tube from the rack housing.
- While moving the rack slowly, drain the fluid from the rack housing.
- Unstake the tab washer which fixes the tie rod and rack with a chisel.
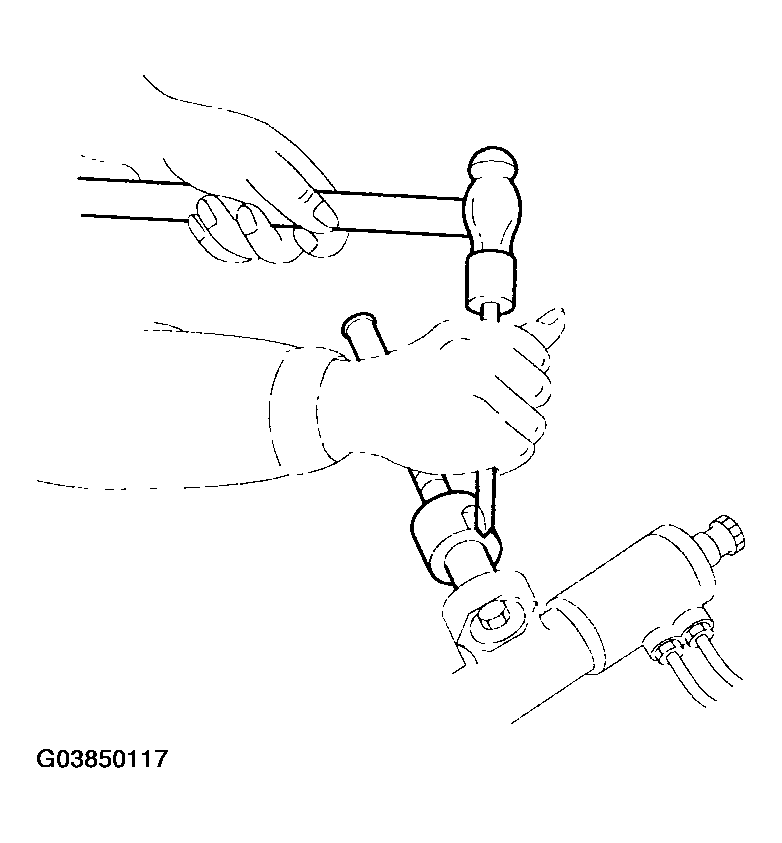 Courtesy of HYUNDAI MOTOR CO.
- Remove the tie rod from the rack.
CAUTION:
Remove the tie rod from the rack, taking care not to twist the rack.
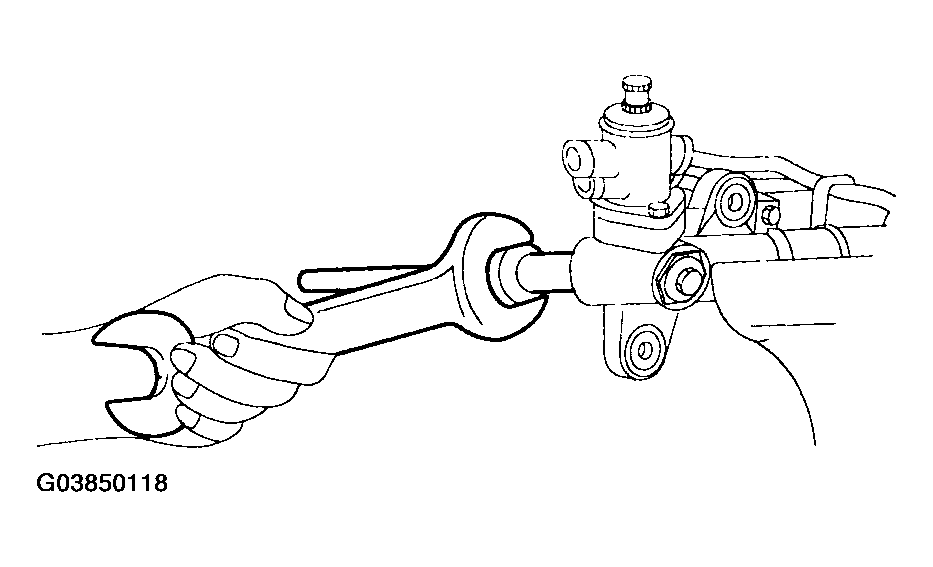 Courtesy of HYUNDAI MOTOR CO.
- Remove the yoke plug locking nut.
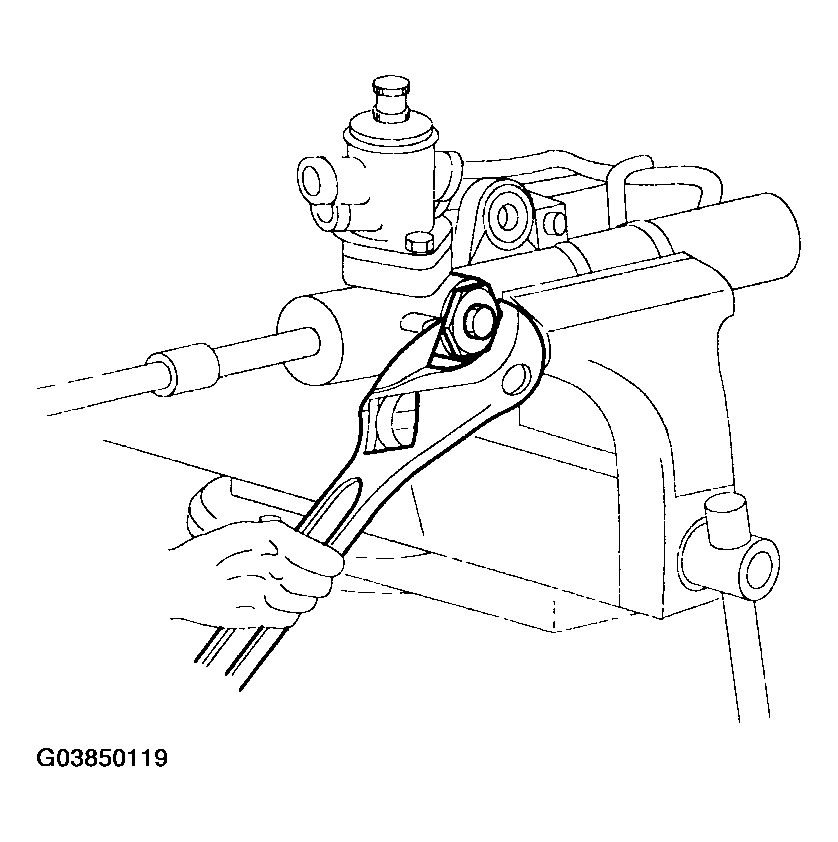 Courtesy of HYUNDAI MOTOR CO.
- Remove the yoke plug with a 14mm socket.
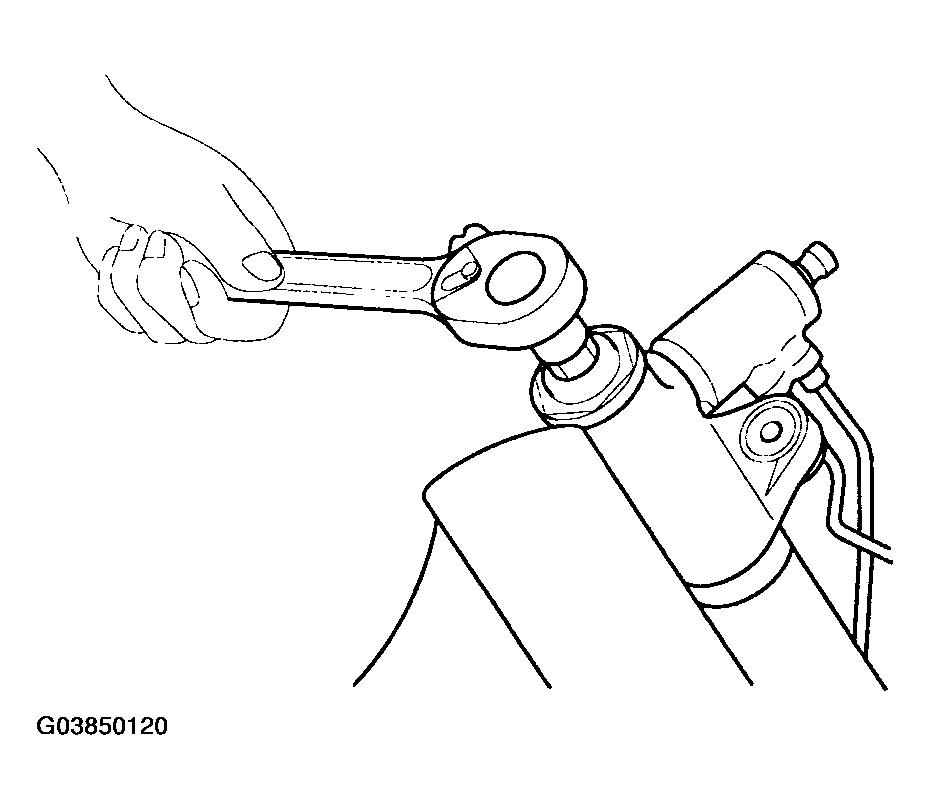 Courtesy of HYUNDAI MOTOR CO.
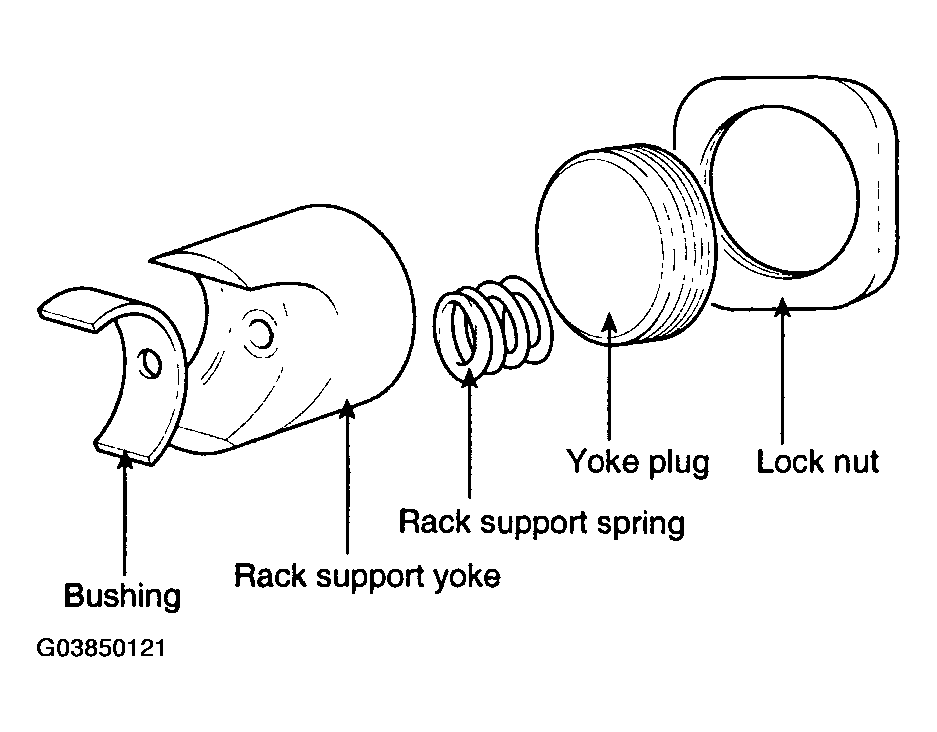
- Remove the lock nut, yoke plug, rack support spring, rack support yoke and bushing from the gear box.
 Courtesy of HYUNDAI MOTOR CO.
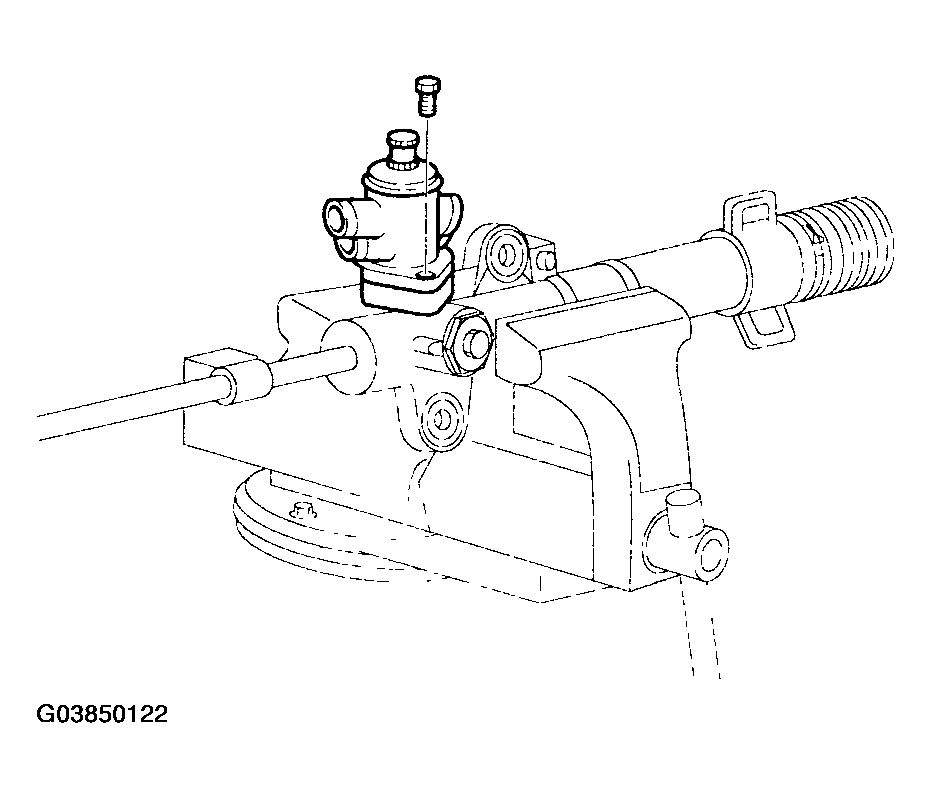
- Remove the valve body housing by loosening the two bolts.
 Courtesy of HYUNDAI MOTOR CO.
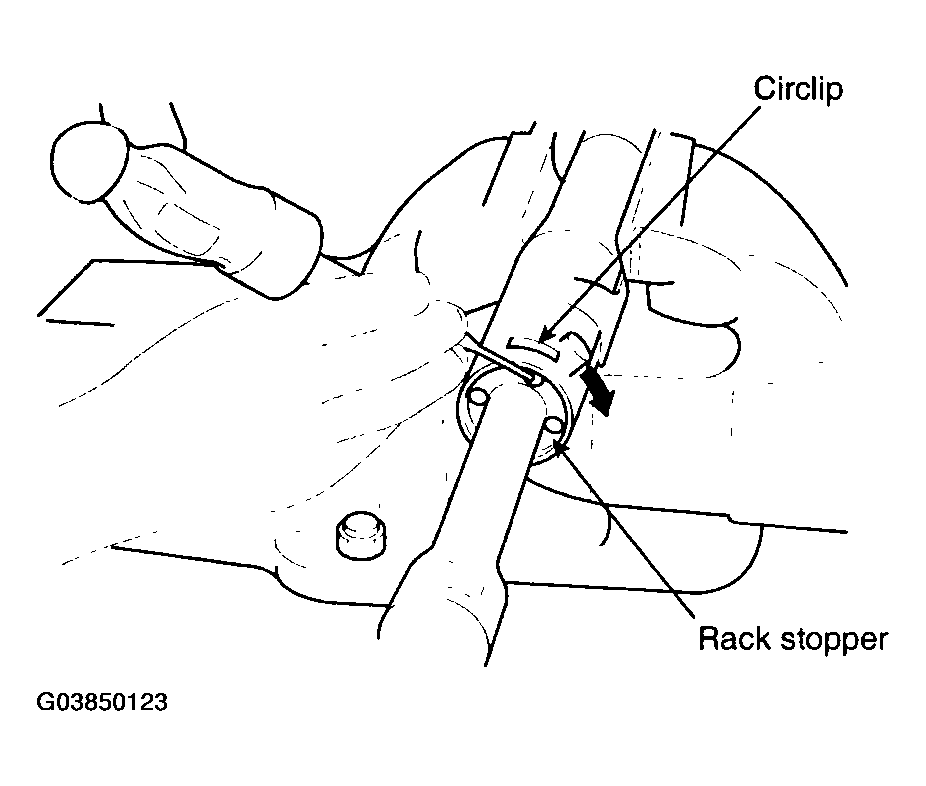
- Turn the rack stopper clockwise until the end of the circlip comes out of the slot in the rack housing.
 Courtesy of HYUNDAI MOTOR CO.
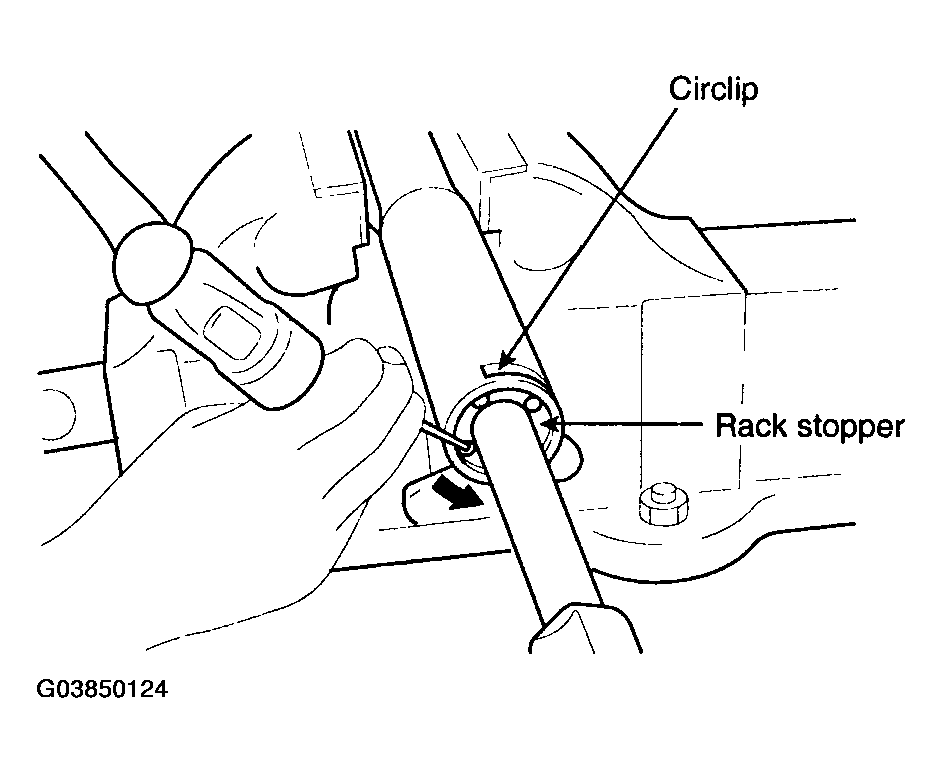
- When the end of the circlip comes out of the notched hole of the housing rack cylinder, turn the rack stopper counterclockwise and remove the circlip.
CAUTION:
Be careful not to damage the rack.
 Courtesy of HYUNDAI MOTOR CO.
- Remove the rack stopper, rack bushing and rack from the rack housing.
- Remove the O-ring from the rack bushing.
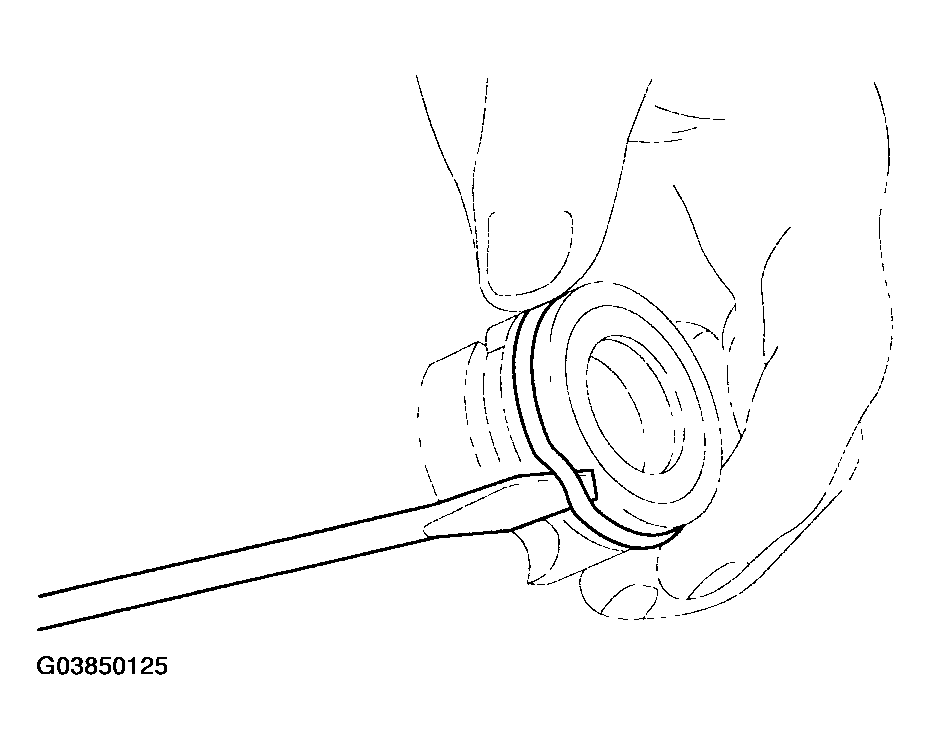 Courtesy of HYUNDAI MOTOR CO.
- Remove the oil seal from the rack bushing.
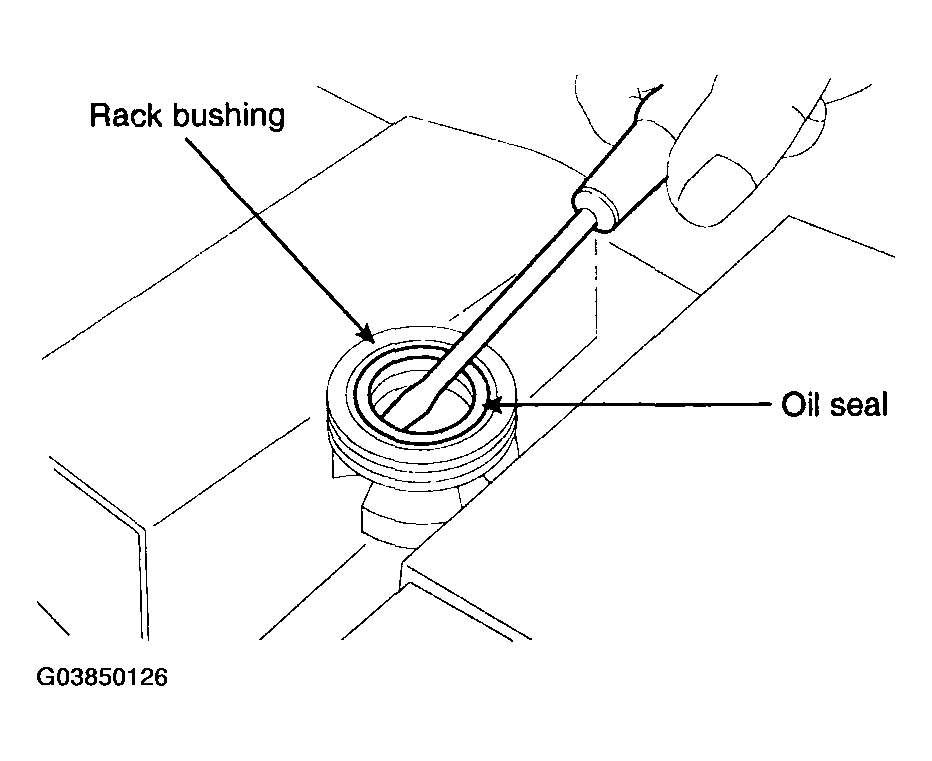 Courtesy of HYUNDAI MOTOR CO.
- Remove the valve body from the valve body housing with a soft hammer.
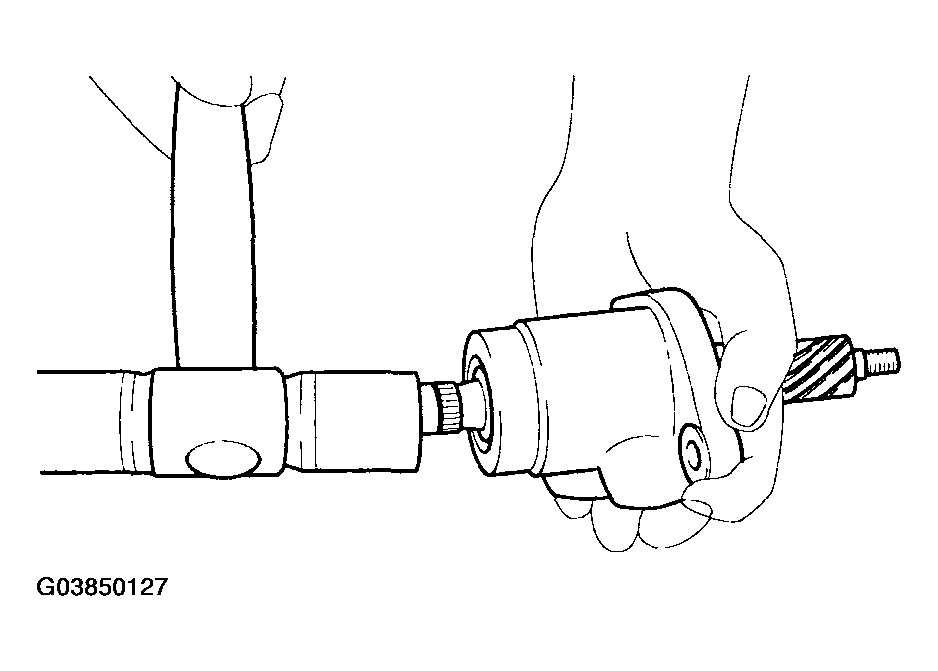 Courtesy of HYUNDAI MOTOR CO.
- Using the special tool, remove the oil seal and ball bearing from the valve body housing.
- Remove the oil seal and O-ring from the rack housing.
CAUTION:
Be careful not to damage the pinion valve cylinder bore of the rack housing.
- Using the special tool, remove the oil seal from the rack housing.
CAUTION:
Be careful not to damage the rack cylinder bore of the rack housing.
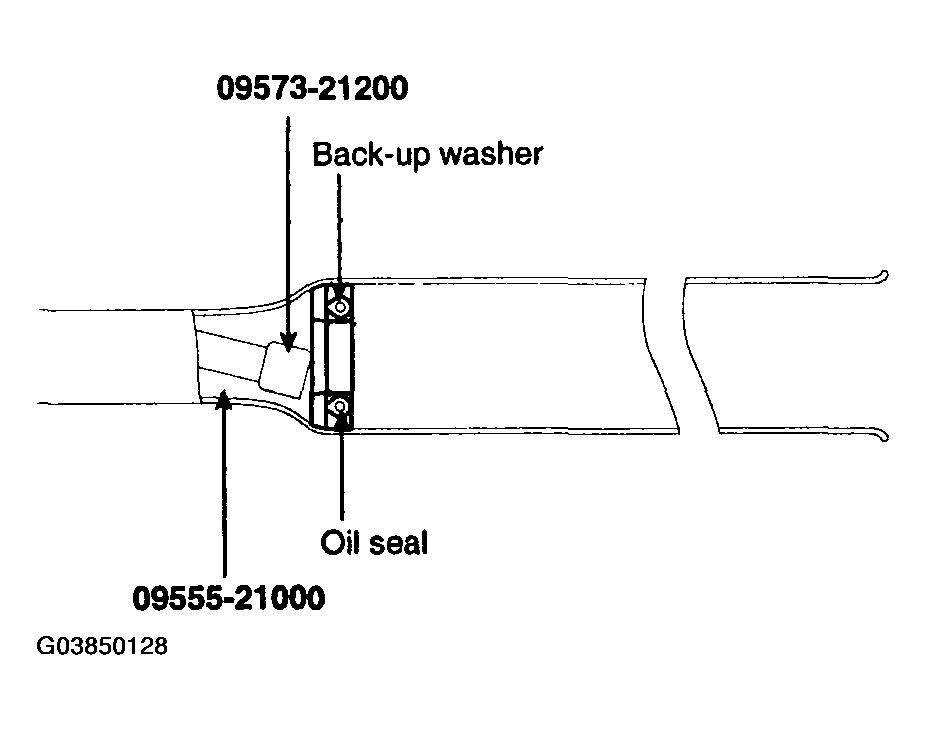 Courtesy of HYUNDAI MOTOR CO.