Removal Procedure
- On California 2.0L engine, remove 5 upper exhaust manifold heat shield bolts.
- Remove the upper exhaust manifold heat shield.
- Remove 3 exhaust manifold to front pipe nuts (1).
- On all, raise and support the vehicle. Refer to Lifting and Jacking the Vehicle
in General Information.
- On California 2.0L engine, remove the heated oxygen sensor (HO2S) 2. Refer to Heated Oxygen Sensor Replacement - Position 2 (w/PUP-TWC)
or Heated Oxygen Sensor Replacement - Position 2 (w/oPUP-TWC)
in Engine Controls-2.0L.
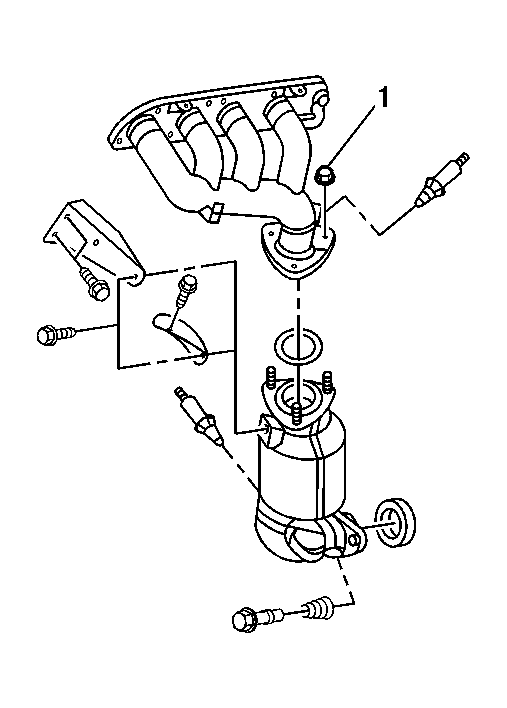 Courtesy of GENERAL MOTORS CORP.
- Remove 1 bolt and 1 nut from the exhaust manifold pipe bracket.
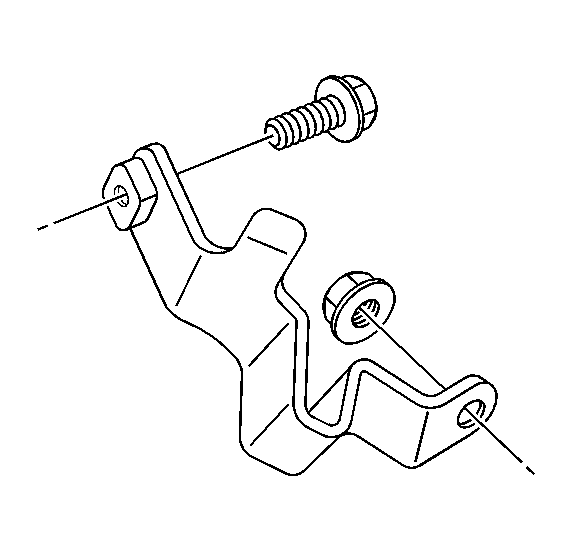 Courtesy of GENERAL MOTORS CORP.
- On all, remove 2 bolts and the front pipe/TWC assembly (2) from the exhaust manifold (1).
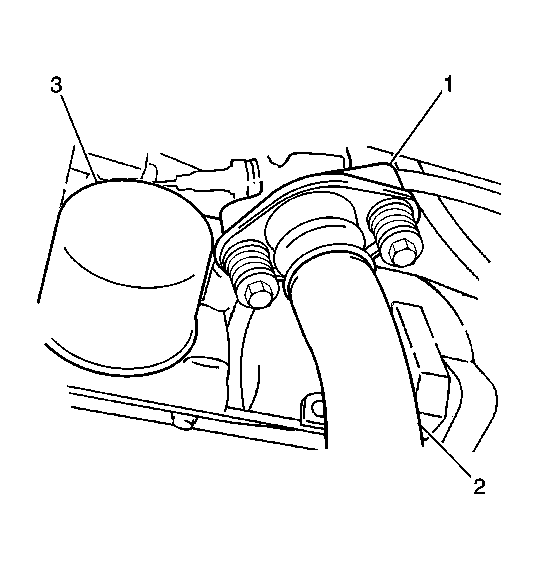 Courtesy of GENERAL MOTORS CORP.
- On non-California 2.0L engine, remove the electrical connector at the heated oxygen sensor (H02S2) (6).
 Courtesy of GENERAL MOTORS CORP.
- On all, remove two nuts and the front pipe/TWC assembly (1) from the resonator/muffler/tail pipe assembly.
- Remove the hanger supporting the TWC.
- Remove the front pipe/TWC assembly (1) from the vehicle.
- Clean the gasket and the seal mating surfaces.
 Courtesy of GENERAL MOTORS CORP.